Showing posts with label industrial. Show all posts

Tuesday, April 26, 2011

CONSOLE/BAR UPDATE

Remember my post about how I was on the search for a skinny console to be placed a against a wall that leads into Melrose's kitchen? Probably not ... but you can refresh your memory here. Well, I have been starring this piece down for forever and I finally bit the bullet. Here is the new console/bar that is now in the dining room:
look at how narrow she is ... 

two lined up against this back wall
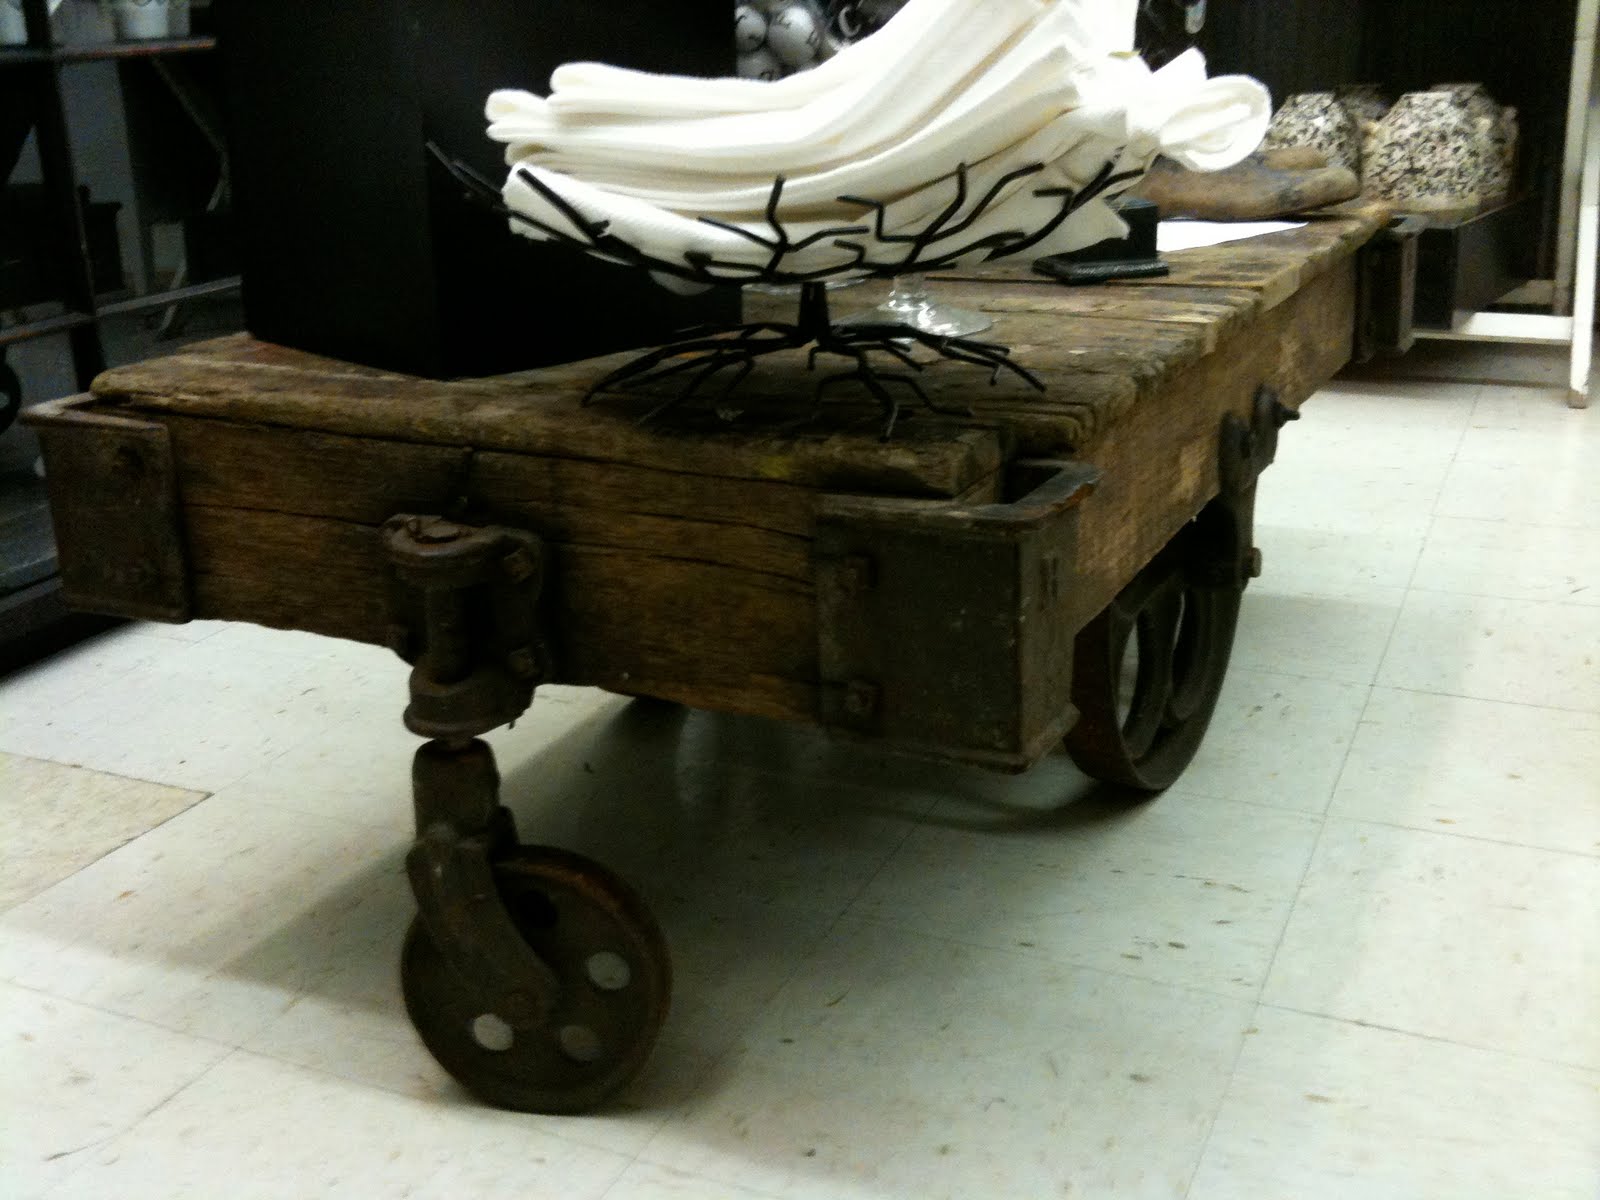
I found this piece at CB2 and it received great reviews so I went for it. I thought the industrial, welded piece would complement the rustic theme of Melrose. Here is a mock up of the wall that I have created with some options:
I am using this accent table as a bar and I have some fun accessories all ready on top and have filled the baskets below ... I just need a goal for the wall above. There aren't any electrical outlets in this area so I am thinking of mounting 2 candle sconces on either side of some art or a mirror. I laid out the options of 1 large, 2 on top of each other, or a grouping of 4 ... ???

I found these rustic, industrial sconces at Wisteria that I thought would be perfect-
then I noticed Pottery Barn carries the exact ones for cheaper -
How nice is that? Just goes to show that you should explore all options! I also love these mirrored scones I found on the West Elm site, although they do not sell them! Frustrating ... anyone know where I can find these?
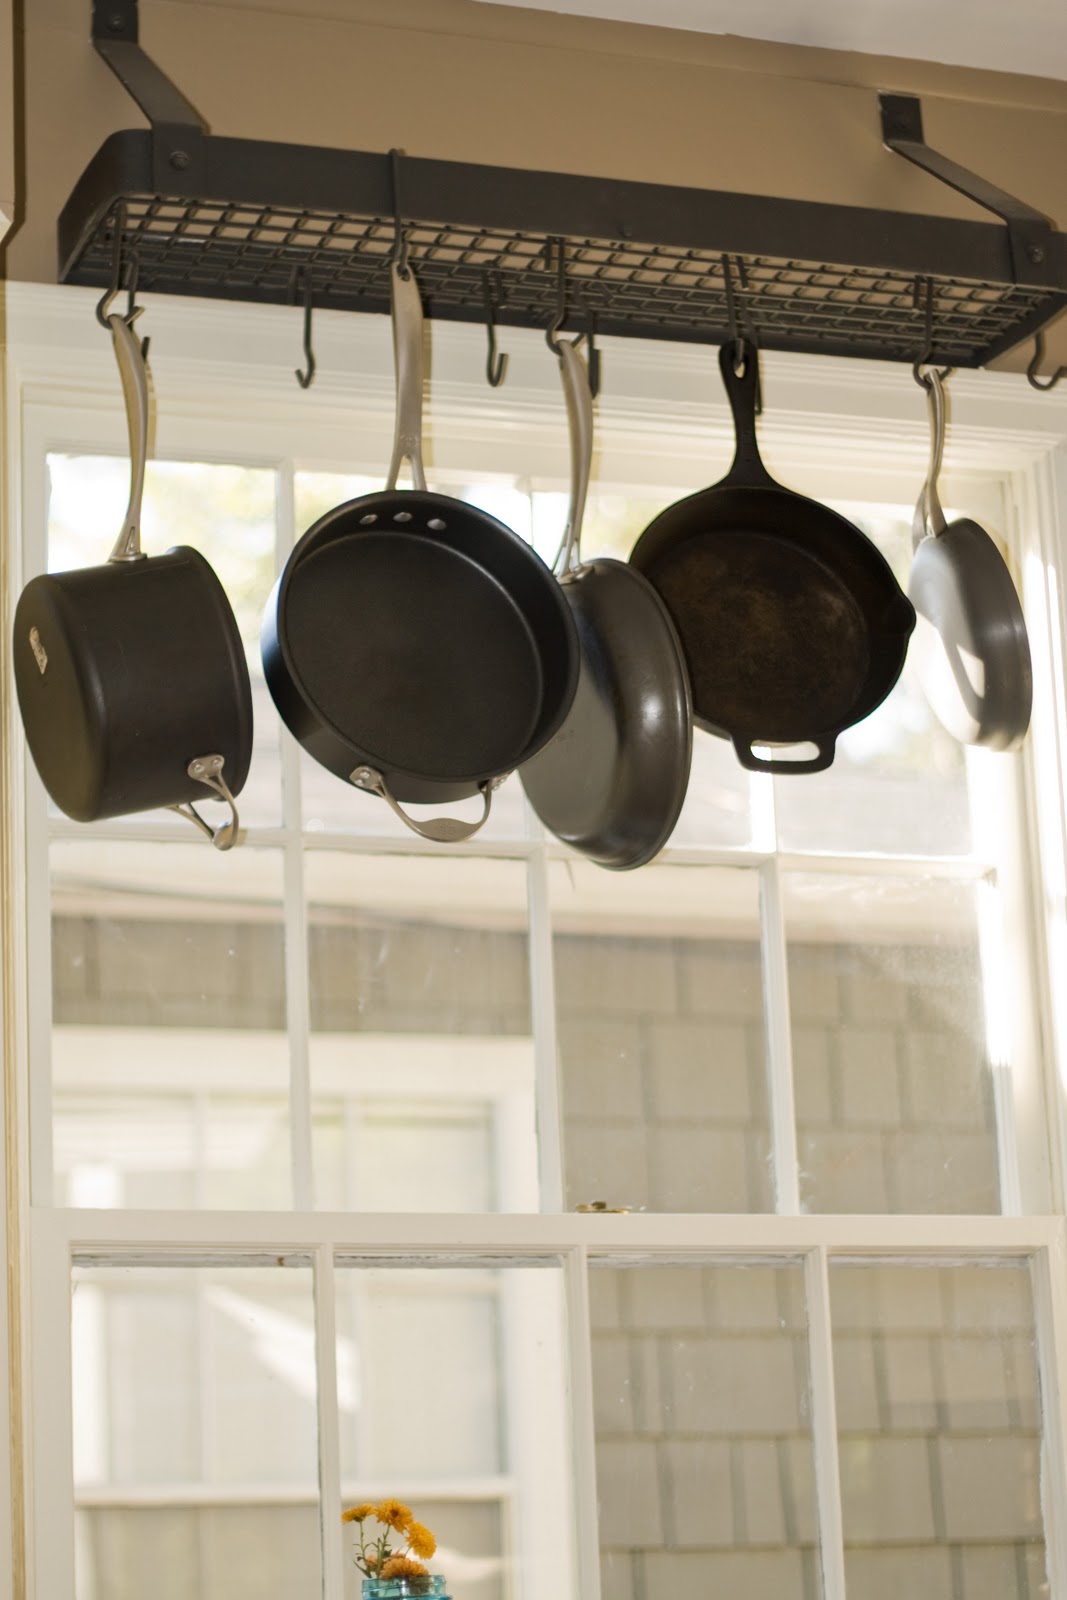
And they look very similar to these found in this picture that I shared in 
my previous post -
Again, Wisteria has some that are close -

But, I do like the simplicity of these rod iron ones at Pottery Barn as well -
I just don't think they will do the job. The baskets below the table sit on the frame nicely and display my Pellegrino and Bellini mix. I believe I will fill the other with baby tonic waters like this -

I wanted something to house my wine glasses, but I just don't think I have the room. This piece would be ideal if it had a middle shelf ... so, should I attempt this innovation instead?
I have to admit, it is quit tempting. 

Everything Fabulous had a recent post on 'chic bar carts + bar basics' and here is what she listed as the necessities at a bar:

Bar Basics: A martini shaker, cocktails glasses, Champagne flutes, wine glasses and martini glasses (keep a couple in the freezer at all times). Always have a supply of cocktail napkins on hand—linen are best!

Bar Essentials: A bar should include a mixture of dark and light liquors, beer, and wine {at least one white and one red}. Plus Vodka • Gin • Light rum • Scotch • Bourbon • Canadian whiskey • Dry vermouth • Campari • Champagne • Club soda • Tonic • Coca-Cola • Sprite or ginger ale • Lemons, limes and large cocktail olives.

Once I have the candle sconces and art mounted, I will share an update and my personal bar favorites.  

Wednesday, November 3, 2010

KITCHEN CURTAINS

This past weekend I was able to finish up a project that I had been slowly working on. Since Auburn played away and Brandon made a weekend trip to the hunting camp, I had a weekend to myself to get whatever done I needed! I am so glad I devoted the weekend to getting these curtains up, because I so happy with them (for now)!

Melrose's double kitchen window looks straight into the neighbors house and has been itching for some cover up. As you know, I like things simple and monotone so I didn't want anything too busy or fussy. Mom found this picture in my New Farmhouse Style book by Terry Woods and it was instant inspiration:

Mom and I discussed how I could achieve this vintage, worn look and we decided with tea bags! So, I purchased some white linen fabric, cut them into panels, dyed them, hung them to dry, hemmed them, and voila! Here are some pictures from my process and the end result.

Not that this is super cool, but if you are interested -- I boiled some water, steeped the tea bags for about 5 minutes, removed, then let the fabric soak.
I hung them to dry outside and then measured the correct length for them to hit the window sill and pinned up the excess. I hemmed the bottom and cut off the remaining fabric.
For a little interest I made a top ruffle. I folded about 1" over and then stitched right along the fold so that there was a small open path for the wire to slide through. I tried to get the stitch as close to the fold as I could so that the wire would be tight in the opening and not allow too much slack.

I slid the wire through the pockets and attached the wire to the hooks in the window frame. They looked great, but I needed something else. So, I hung this beautiful lamb's ear wreath that I bought at the Country Living Fair to the center of the window. And now this is Melrose's kitchen:
check out the blue mason jars ... sugar, coffee beans, and brown rice.


This is an antique table I bought at Hanna's Antiques downtown Birmingham. My friend Catherine and I carted it from the store to the house without any guy's help! I purchased these stools at Overstock and it is the perfect breakfast nook.
I think the table was made from an old wagon wheel? Not sure where the iron stand is from.
A tea cup made into a candle - a cute take home gift from a shower. 

Cast iron pot rack over the table -- I was uneasy about this at first, I think I was concerned it would look too "messy", but I have come to like it. Fits in perfectly with the whole industrial theme.

And that is it! Just wanted to share the new curtain project. Now, onto the next!

Monday, March 29, 2010

INDUSTRIAL ROLLING CART

I love the industrial, rustic, exposed hardware look that is starting to appear all over the design world. So, when I started to see these awesome old-school, rolling furniture carts doubling as coffee tables, I knew I wanted one. You have probably seen them going for top dollar at shops like:


Restoration Hardware: $895-$1295 [here]


Wisteria: $579 [here]

And while shopping in Auburn I stumbled upon these beauties at Ressurect Antiques:


I was bound and determined to get one for Melrose! I showed my Dad these pictures and he had an even better idea - refinish one ourselves. I am all for the cheaper option so when he said he found one I was beyond giddy.


She was an ugly duckling at first, but quickly grew into a beautiful swan! 


This cart is newer than the others - the tires are rubber rather than the chunky, metal ones and the frame is thinner, but these issues didn't deter us. The idea was to spray paint the frame (all the red) black, add a new board on top, remove any nails or staples, and sand the top.


[please excuse the rooster and hens - Bob wanted his moment to shine]


We then decided to stain the new board with a mix of walnut and red oak to try to distress it to blend in with the older boards.


But, then it looked too different so we decided to stain the others boards as well.


Looks pretty good at this point except for the "Br Hu" on top. We sanded the top some more to remove the white letters and then did several more coats of stain to keep blending the boards together.


I have to say, I am more than happy with it and getting it for free makes it even better. Thanks Dad for all your help! It fits in perfect with my style and you don't even need coasters! 

The Den is coming along quite nicely and I am trying to get in one last piece before I post pictures. I am off Friday for Good Friday so I hope to get A LOT accomplished - wish me luck!